

Get started
Your first app
Go from a blank prompt to a deployed app in about ten minutes — describe it, refine it in the live preview, add auth and data, and publish.
This walkthrough takes you end to end: from a one-line idea to an app on a real URL. It should take about ten minutes.
1. Describe what you want
Open the composer on the home page and describe your app in a sentence or two. The more specific you are about the user and the core flow, the closer the first build lands. For example:
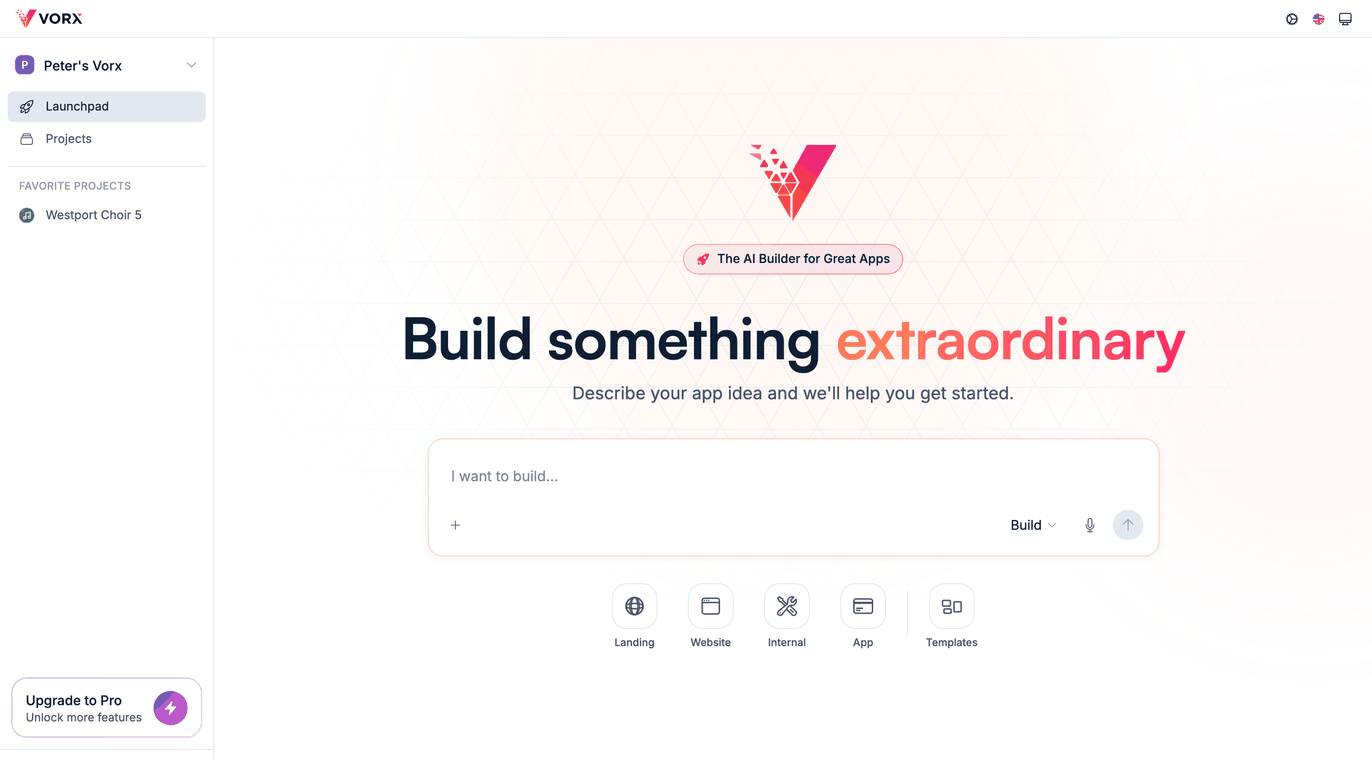
Build a client portal for a design studio. Clients log in, see their projects and invoices, and can leave comments on deliverables.
See Writing good prompts for the habits that produce better first builds.
2. Watch it build
Vorx works out the screens and data model, generates the app, then clicks through it in a headless browser to check it actually runs. A first build usually takes five to ten minutes. Something complex can take twenty or more — the progress steps keep moving while it works, so a long run isn't a stuck one.
What you get back is a live preview — a real running app, not a mockup — so you can click through it immediately.
3. Refine in the preview
Use the app the way your users would and note what's missing. Then send small follow-up prompts, one change at a time:
Add a status badge to each project (Not started, In progress, Done) and let clients filter by it.
Small, specific edits land more reliably than one big rewrite, and they're much easier to review. When it's easier to point than to describe, switch the preview to visual mode and select the element you mean.
Every change is a checkpoint, so try the ambitious version — you can always roll back.
4. Add the essentials
Most real apps need a login and their own data. Ask for them directly:
Add email sign-in. Clients should only see their own projects and invoices.
Vorx generates the sign-up and sign-in screens, protects the routes, and scopes the data to the signed-in user. You can see the accounts it created under Settings → Cloud → Users, and the tables under Settings → Cloud → Database. See Authentication and Your data model.
5. Publish
When it's ready, publish to a live URL at your-app.vorx.live and share it. You can keep iterating after launch, and connect a custom domain whenever you like.
Worth five minutes before you send the link to anyone real: the launch checklist.
If something goes wrong
- The build didn't do what you asked — roll back and re-describe it as one specific change.
- A page is blank or throws — tell Vorx exactly what you clicked and what you saw. See Fixing errors.
- Builds stopped starting — you may be out of credits. See Plans and credit usage.
Next steps
- How Vorx works — what happens under the hood
- Build and Plan modes — when to plan before building
- Components and design — make it look finished